本文共 2587 字,大约阅读时间需要 8 分钟。
前言
近段时间,看了一下运用python实现app自动化的视频,觉得那上面的讲的不错,于是就用所学的知识做了一个程序,实现自动回复QQ消息。
1. 准备工作
1.1 安装client模块
打开命令窗口,输入命令:pip install appium-python-client
1.2 安装Appium Server
下载网址为:http://appium.io
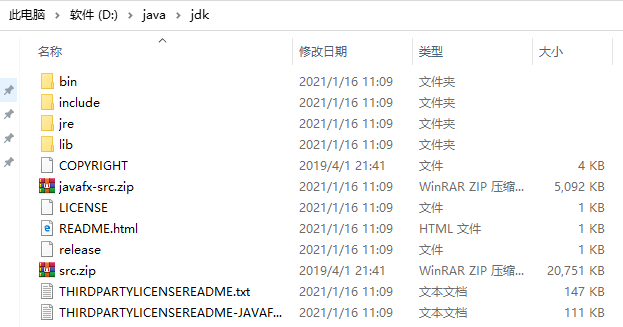
1.3 安装JDK
安装好之后,添加环境变量JAVA_HOME,指定jdk的安装目录,小编为:

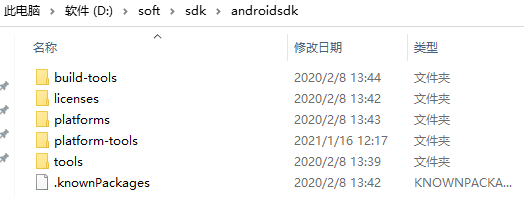
1.4 安装android sdk
添加一个环境变量ANDROID_HOME,设置值为sdk包的解压目录,小编为:

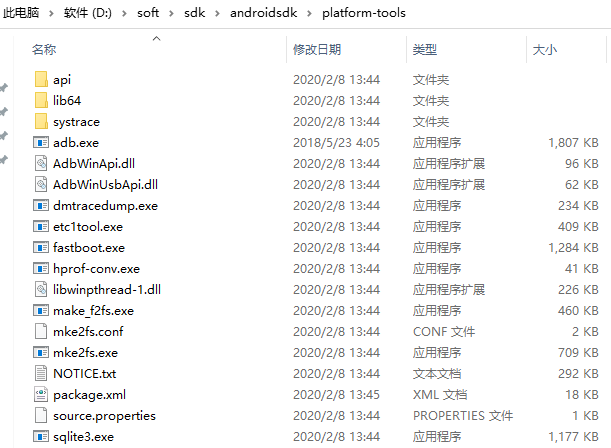
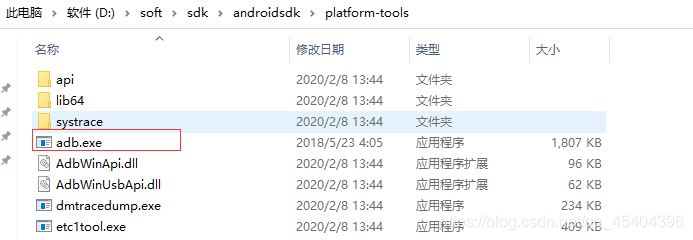
另外,最好在path里面添加adb.exe的环境变量

1.5 投屏软件
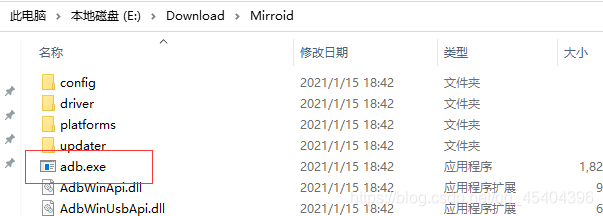
小编用的是米卓同屏助手,下载网址为:https://cn.mirroid.com
2. 连接手机
小编用的USB连接,需要一条数据线,将手机和电脑端连接起来,同时需要打开手机的开发者模式。
那么怎样打开开发者模式,以小编的手机为例(OPPO手机)来到手机设置,点击关于手机,之后一直点击版本号,当出现以下字样即可。

然后进入其他设置(不同手机可能不同),就可以看到这里多了一个开发者选项了。
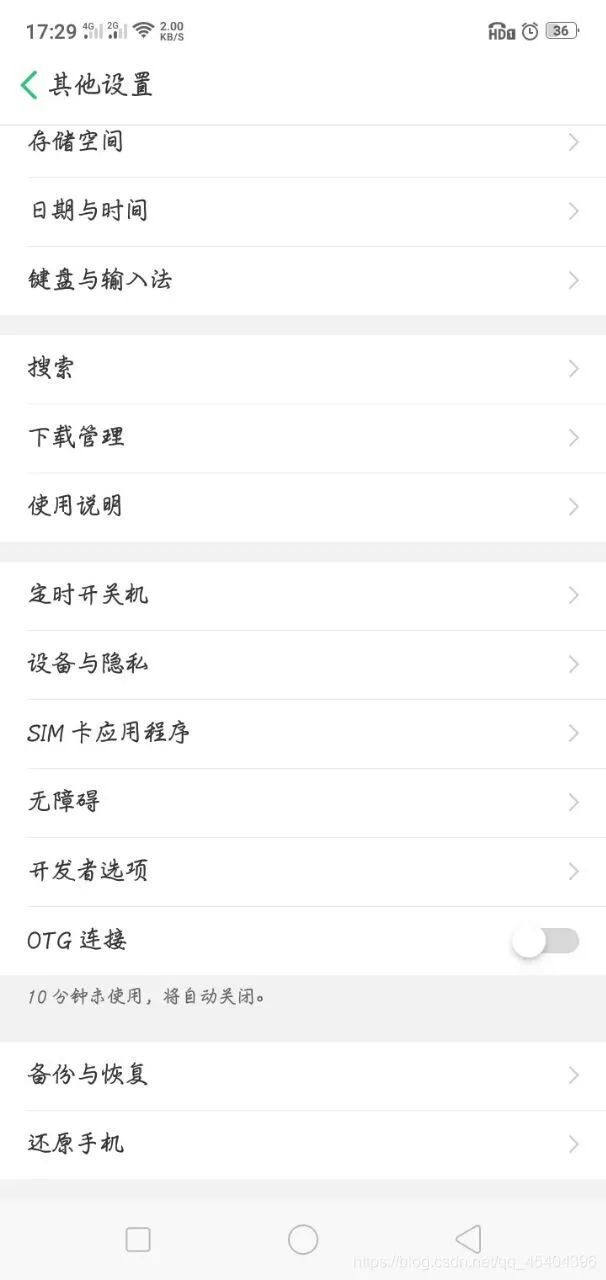
进入开发者选项,然后打开,可以发现这里有一个USB调试的开关,打开它。
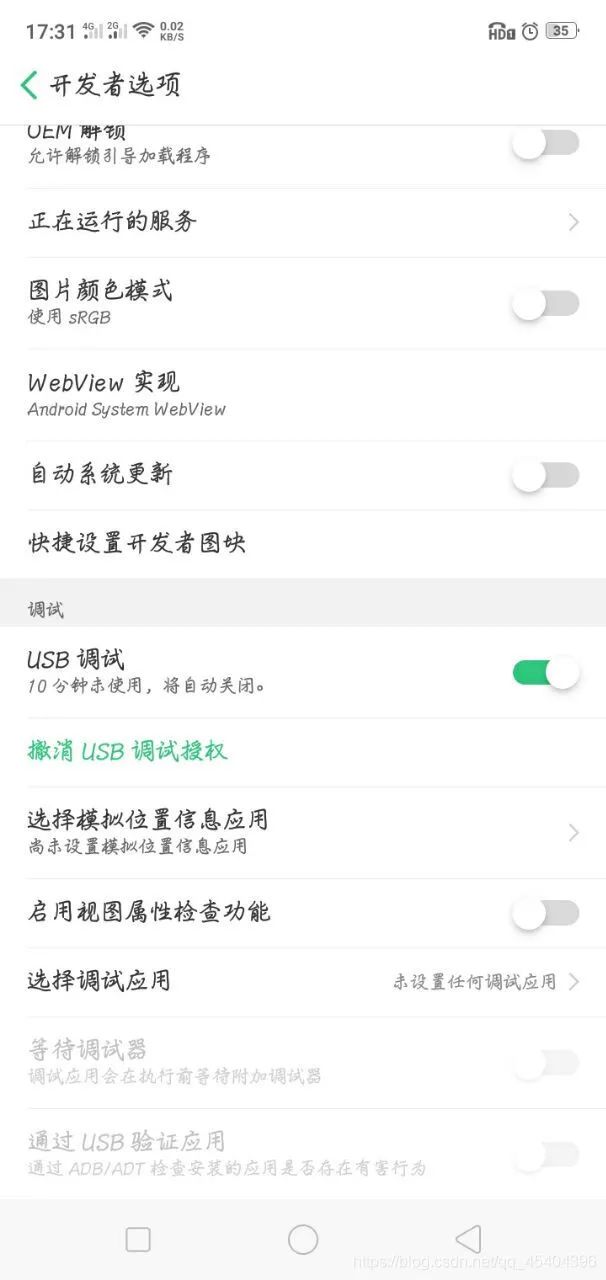
打开之后,就可以看到在这个投屏软件上了出现了手机的画面。

3. 测试是否连接成功
在命令窗口中输入:adb devices -l ,如果出现以下这个画面,应该是成功连接了!
![]()
有个时候,可能会报错,一般原因是投屏软件的adb.exe版本和sdk的adb.exe版本不一致导致的,(小编自己猜测的)应该只需把其中任意一个adb.exe复制到另外那个那里就行了。
4. 代码实现
参考代码如下:
from appium import webdriverimport timedesired_caps={ 'platformName':'Android', 'platformVersion':'8.1', 'deviceName':'xxx', 'appPackage':'com.tencent.qqlite', # 自动化应用 'appActivity':'com.tencent.mobileqq.activity.SplashActivity', #'unicodeKeyboard':True, #'resetKeyboard':True, 'noReset':True, 'newCommandTimeout':6000, 'automationName':'UiAutomator2'}driver=webdriver.Remote('http://localhost:4723/wd/hub',desired_caps)driver.implicitly_wait(10)driver2=driver.find_element_by_id('recent_chat_list')list2=driver2.find_elements_by_class_name('android.widget.LinearLayout')print('当前QQ消息为%d个'%(len(list2)))time.sleep(2)list2[0].click()def send_Message(text2:str): # 发消息 driver4=driver.find_element_by_id('inputBar') driver4.find_element_by_id('input').send_keys(text2) driver4.find_element_by_id('fun_btn').click() time.sleep(2) print("发送消息:%s"%(text2))list4=["刘邦,字季,沛郡丰邑(今江苏省丰县)人。中国历史上杰出的政治家、战略家和军事指挥家,汉朝开国皇帝,汉民族和汉文化的伟大奠基者和开拓者,对汉族的发展以及中国的统一有突出贡献。","还没","湖南省,简称“湘”,是中华人民共和国省级行政区,省会长沙,界于北纬24°38′~30°08′,东经108°47′~114°15′之间,东临江西,西接重庆、贵州,南毗广东、广西,北连湖北,总面积21.18万平方千米。"]while True: try: driver3=driver.find_element_by_id('listView1') list3=driver3.find_elements_by_class_name('android.widget.RelativeLayout') text=list3[-1].find_element_by_id('chat_item_content_layout').text print('收到消息:%s'%(text)) # 接收消息 time.sleep(5) if(text=='你好,请帮我查阅一下刘邦的简介'): send_Message(list4[0]) elif(text=="你吃中饭了没"): send_Message(list4[1]) elif(text=="介绍一下湖南呗!"): send_Message(list4[2]) except Exception as e: pass 在运行代码的过程当中,会在手机上自动安装一些东东,同意安装即可。
在这里还是要推荐下我自己建的Python学习群:721195303,群里都是学Python的,如果你想学或者正在学习Python ,欢迎你加入,大家都是软件开发党,不定期分享干货(只有Python软件开发相关的),包括我自己整理的一份2021最新的Python进阶资料和零基础教学,欢迎进阶中和对Python感兴趣的小伙伴加入!
转载地址:http://whcb.baihongyu.com/